Today's recipe is a moist sponge cake! This comes from
Baking by James Peterson. It's a plain and simple recipe, unflavored and using baking staples, so it's good to make anytime. It can be frosted in several different ways, but it's also go with no frosting at all!
Air is the only thing holding this cake up, as it contains no yeast or other leavening. We'll be making a one-layer 9 in (23cm) round cake, about an inch (2.5cm) tall. If you have the right tool or good enough skill with a knife, you can cut the cake in half and make it two layers. I've made it plain.
This is also a good recipe to use for a rolled cake, by making it in a parchment-lined sheet pan instead of a round pan. Ruth and I are still discussing what filling to use, so expect to see a rolled cake sometime in the next month or two.
Let's get started!
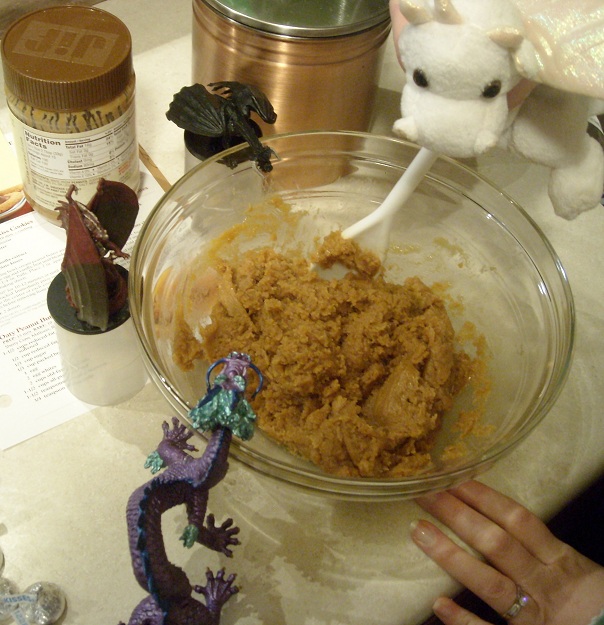
This cake does require a little bit of prep work--it calls for the eggs to be warmed. Ruth is supervising from the top of the cake flour as the others get the eggs ready. Black is reading the directions on how to warm eggs quickly.
Red and Hi-chan have a bowl full of eggs--we need 6 warmed eggs for this recipe. That's lots of eggs! Beating them gives the cake its lift.
To warm the eggs quickly, we need to soak them in hot tap water for 5 minutes. Hi-chan and Black are pouring hot water over the bowl of eggs while Red gets the timer going.
Once the timer goes off, pour the water out. Careful not to lose or break your eggs! Please excuse awkward pictures, we made the cake while Archi was at work so we didn't have our cameraman. I've tried to use only the best shots, but I've still got only half my attention on the camera.
Prep work's done, now for the real thing! Here are all the ingredients. Ruth has brought the cake flour and is standing on the sugar. Hi-chan brought heavy cream, though milk could also be used in this recipe. Black has the butter and Red got the vanilla.
We'll be using the stand mixer (a new addition to the kitchen) for this. Ruth got the bowl and I've already attached the beater we'll be using. Hi-chan has the round cake pan. Black has brought a saucepan and Red, as usual, has the measuring spoons--and the one measuring cup. We also need a liquid cup measure, which no one remembered about until we were ready to add the cream.
Preheat the oven to 350°F (~175°C) for the round pan. (A sheet cake requires a higher temperature--400°F/205°C.) Black has this under control.
Ruth is helping me butter and flour the cake pan. Parchment paper can be substituted for this step, but I didn't feel like fussing with cutting out a circle.
Red adds 1tsp (5mL) vanilla extract to the saucepan.
Black helps me add 1/4 cup (60mL) of heavy cream. Use the same amount of milk if you'd rather.
Hi-chan dumps in 3 tablespoons (45mL) of butter.
Ruth stirs the mixture over medium heat, paying careful attention so that the cream doesn't burn.
Once the butter is completely melted (as shown above), turn off the burner and take the pan off the heat.
We'll come back to this in a bit, for now we'll let it cool.
Now we go back to the eggs we warmed up earlier. We need 3 yolks, so I set about separating the eggs. Due to camera handling, I haven't got an action shot here.
Three egg yolks in the bowl. Hi-chan is trying to come up with a good jolk. (Or a bad pun...)
Three whole eggs go in, and Ruth joins Hi-chan for a look while the smaller dragons argue over the measuring spoons.
Well, they seem to have resolved their disagreement. Black adds 3/4 cup of sugar and Red adds the additional 2 tablespoons. (200g total)
Ruth turns the stand mixer on, all the way up to high. Hi-chan has decided that the top of the mixer makes a good observation point, while Ruth elects to watch from the side. It'll be at this for a while--let it mix for 5 minutes or more.
The egg mix should look like this when you lift the mixer--it's called the 'ribbon stage'. That ribbon of egg mix stays visible for about 5 seconds before dissolving. This may take more than 5 minutes to achieve; ours ran for 8 minutes.
Take the bow of sweetened eggs out of the stand mixer and carefully add the cream mixture from before, pouring it into the side of the bowl, very close to the edge. Again, the awkwardness of these shots is due to the lack of a cameraman.
Fold the cream into the eggs quickly but gently--you don't want to knock the air out or you'll have a flat cake. Remember that the air you just put into the eggs is all that lifts the cake.
Sift in 3/4 cup (130g) of cake flour, one-third at a time, and fold it into the batter. Make sure the flour is all the way mixed in before you add more! Everyone else is watching as Ruth and I handle this. Yes, the orange thing is a mesh strainer--I don't have a sifter. This works much the same way, though I have to push it through the mesh by hand; I use the back of the measuring cup (the 1/8 measure is the only one that fits in the opening of the cake flour bag).
Once all the flour is folded in, pour your cake batter into the pan. Here we have a pan full of cake batter, and dragons who are tempted to steal a taste of the batter!
Now the cake goes into the oven (my cake pan leaked!) and Black sets the timer for 25 minutes.
When the timer goes off, test the cake! If it's firm to the touch, it's done. If not, give it a few more minutes.
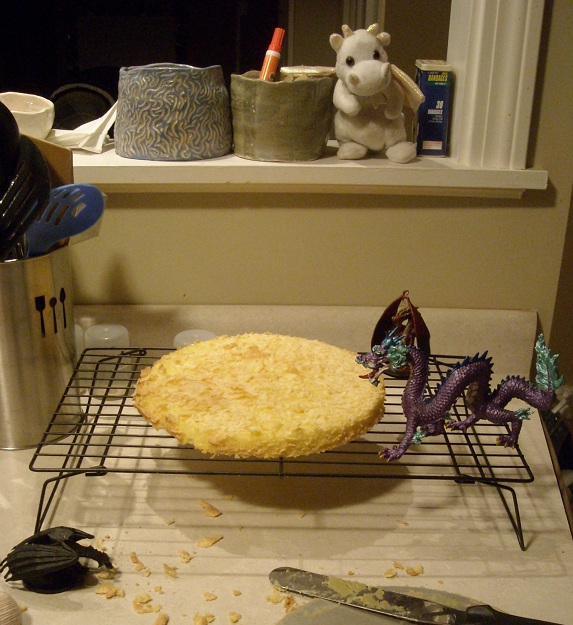
It's done! Ruth helps take it out of the oven, then keeps an eye on it while it cools for 10 minutes. I've distracted the others with cleaning up.
We're lucky I have a cast-iron frying pan in the oven, as it caught the batter that leaked out of my cake pan. So now we have cake and spare cake. I'll let this cool for 10 minutes too before I do anything with it.
Ruth supervises as I remove the pan, flipping the cake over by carefully sandwiching it between two cooling racks. Be very gentle when doing this, or you'll end up with squished cake. Well, it's going to get a touch smashed this way anyhow. Not much I can do about that. Once the cake was all the way out, the others came over to investigate. Black has found the tasty crumbs.
A slice of cake, with Pumpkin Spice ice cream (from Walpole Creamery) to go with it. This cake goes well with anything, but the ice cream is truly excellent stuff! (It's also a local creamery, so I'm sorry if I am teasing you.) Dig in, everyone!